Sunday 16 March 2014

Apple-Cranberry Crisp

Ahhhhh....now I know what you’re probably thinking.  Apple crisp!?  Why would I pick something as easy as apple crisp?  Well, I’ll tell you why....because I love apple crisp.  So like it, or lump it!


Now, everyone has their own spin on apple crisp, and I’m no different.  I like to change it up, which is mostly dictated by why I have in the pantry at the time.  However, one ingredient I do really enjoy adding is dried sweetened cranberries.  I really think their tartness nicely counterbalances the sweet, syrupy deliciousness of the apples, sugar and cinnamon.


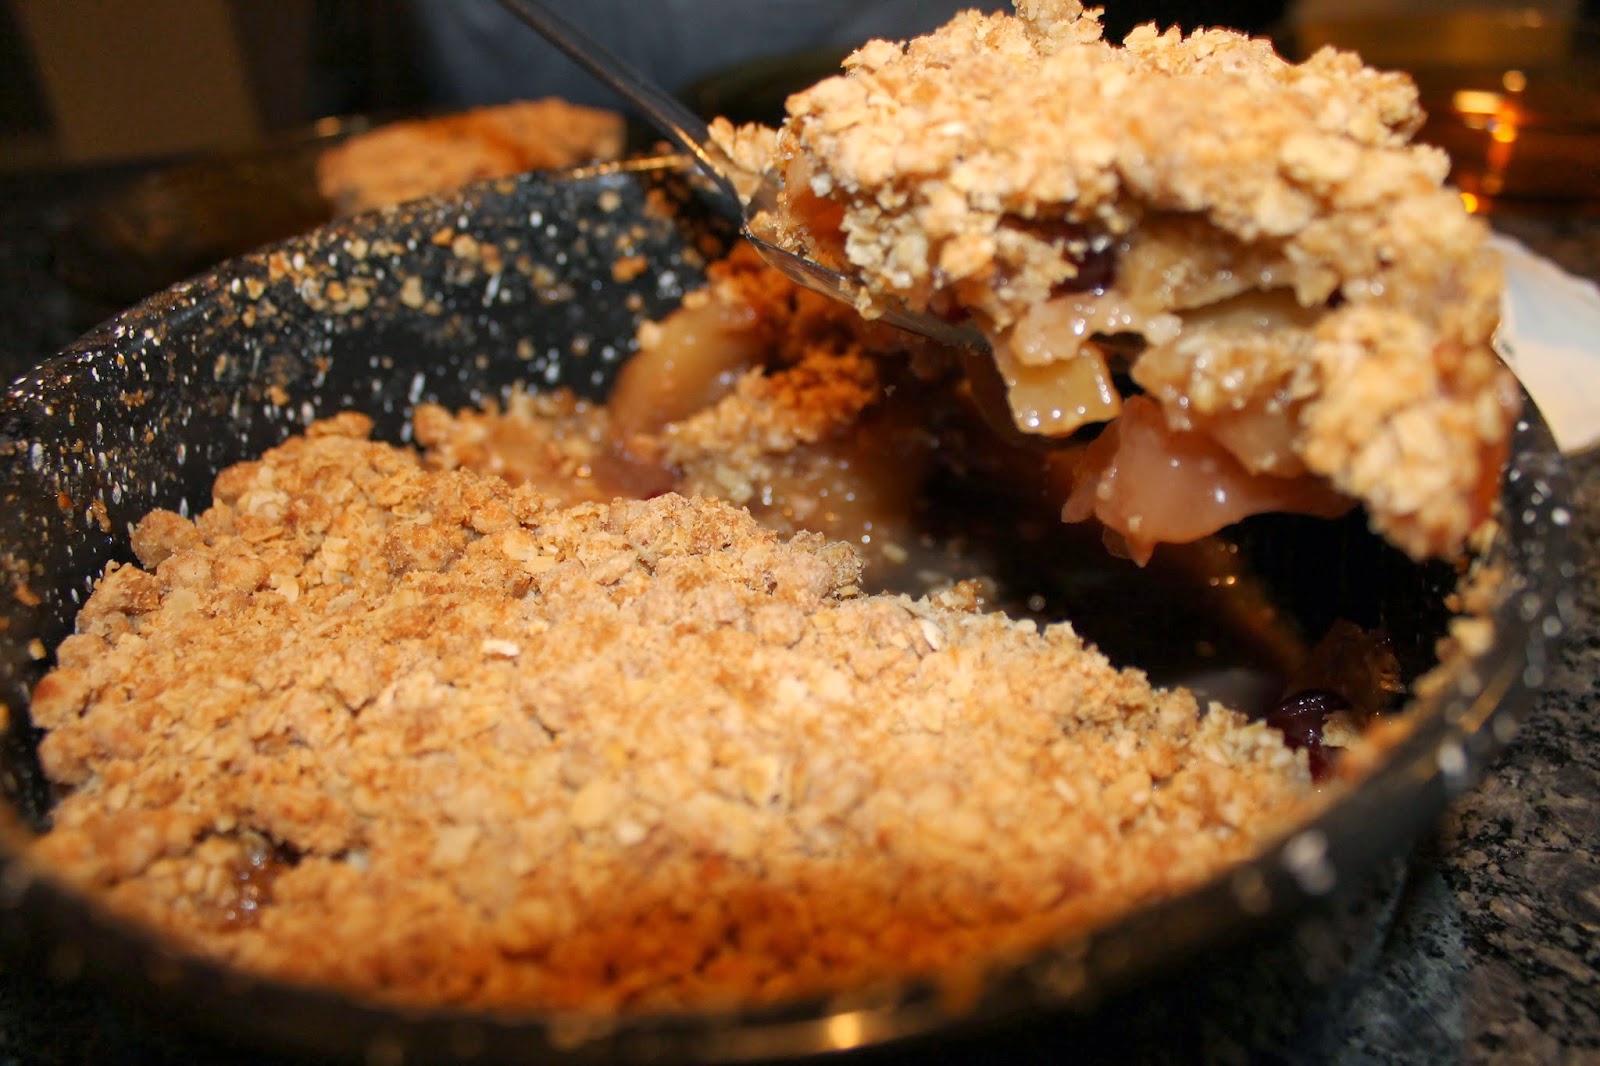
But we cannot talk about apple crisp without talking about why it’s called “crisp”...the crunchy, buttery, sweet topping that conceals the ooey gooey, warmly spiced decadence of perfectly baked apples. Drool... 


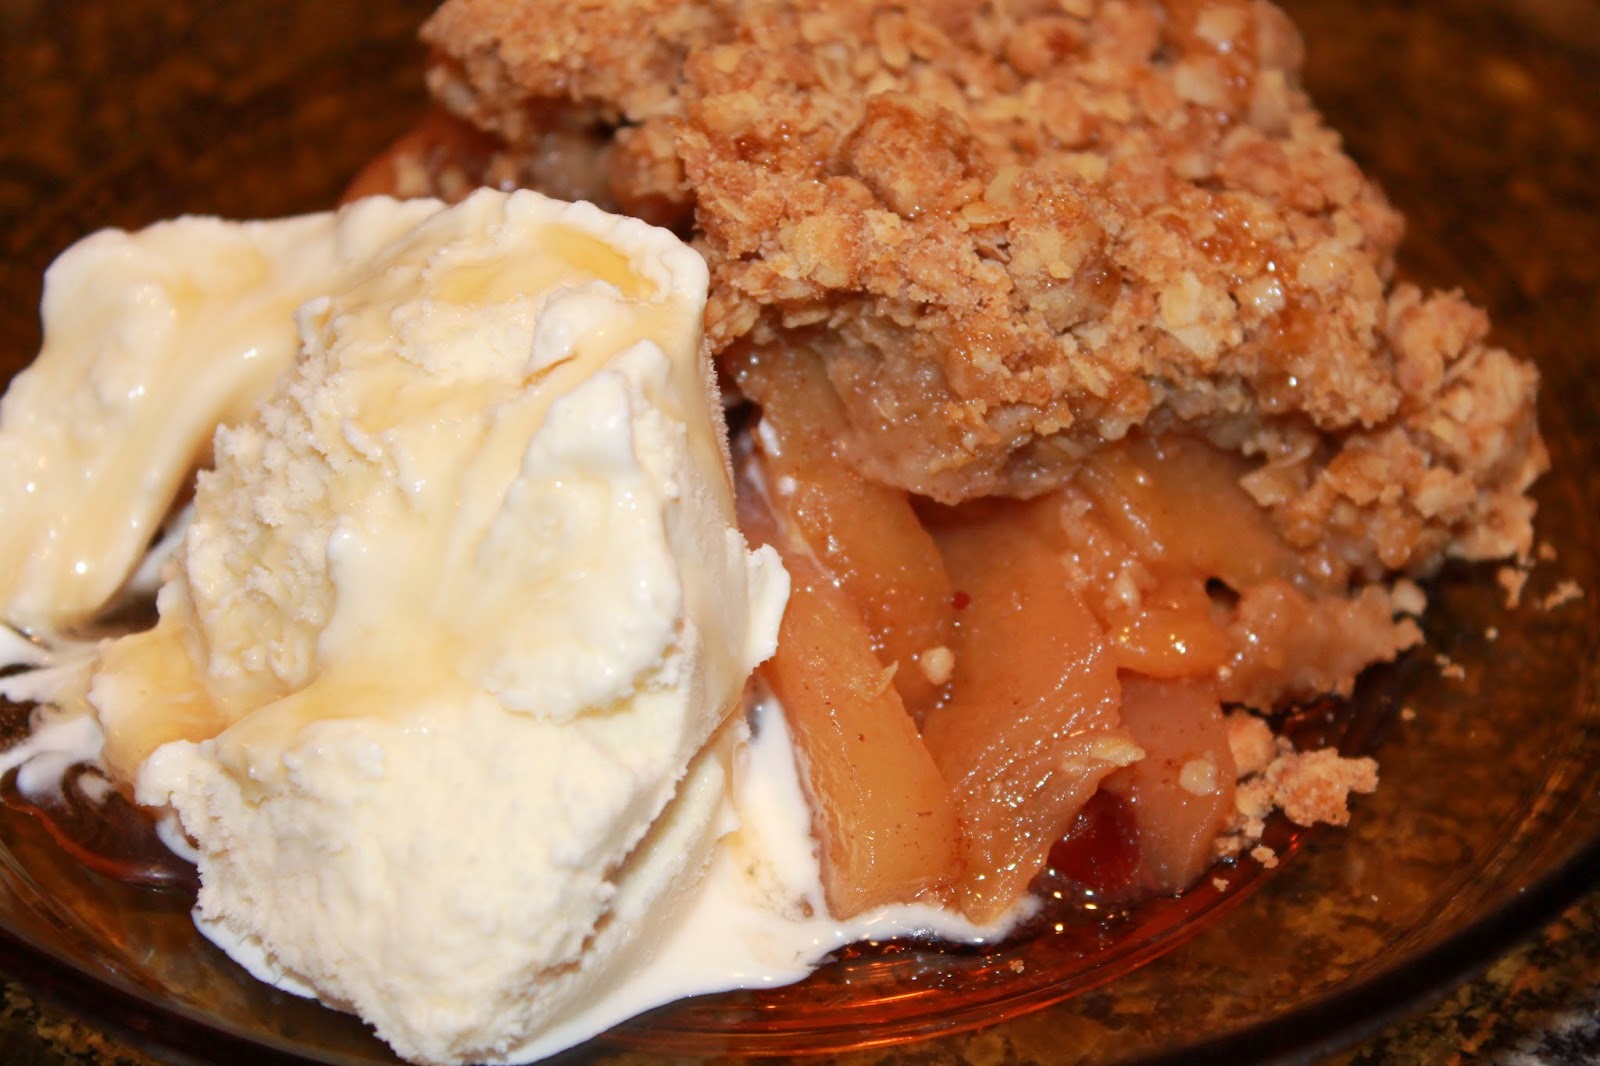
And nothing accompanies fresh out-of-the-oven apple crisp quite like good old fashioned vanilla ice cream.  And because I rarely stop at just “good enough”, I decided to try topping the crisp and ice cream with maple agave syrup (see my last post to hear me wax off about my love of all things maple..). 


The apple crisp was delicious, the ice cream was the perfect accompaniment, and the maple agave topped the whole thing off beautifully.  I highly recommend maple agave syrup as a delicious alternative to caramel sauce!


Apple-Cranberry Crisp

5-6 medium-sized apples, peeled and cut into ½ inch slices
2-3 tablespoons all-purpose flour
½ cup brown sugar
½ teaspoon cinnamon
¼ cup dried cranberries
3-4 tablespoons lemon juice
3-4 tablespoons of cold butter, cut into cubes


Crisp Topping

1 cup instant oatmeal
½ cup brown sugar
½ teaspoon cinnamon
Pinch of salt
½ cup butter, melted


Directions

  • Pre-heat oven to 375 degrees.
  • Make crumble. Mix oatmeal, brown sugar, cinnamon, salt together in medium bowl.  Add melted butter by drizzling across top of mixture.  Blend together with a fork until blended into a crumbly consistency.  Set aside.
  • Peel and cut apples. Place into large bowl.  Add flour, brown sugar, cinnamon, cranberries and lemon juice.  Toss together until ingredients are mixed and apples are well coated.
  • In a buttered 9”x9” baking dish (or 9” round baking dish), place apple mixture and spread to edges of baking dish.  Distribute cubed cold butter on top of apples.
  • Sprinkle apples with crumble mixture until all of apples are covered.
  • Bake for 45-60 minutes, until a knife inserted in the middle easily pierces the apples.
  • Let sit for 15-20 minutes before serving.
  • Serve warm with ice cream and agave syrup (or however you like best). Enjoy the amazingness.


I hope you’ll enjoy making this apple-cranberry crisp, and maybe even take some liberties of your own! 

Bake, Batter, and Roll!


Sunday 23 February 2014

Oatmeal-Maple Scones

Since starting a blog was, until recently, a foreign concept to me, I felt that I should also break the ice by tackling a new recipe as well. Rip the bandage off. Go big or go home. Balls to the wall, and all the jazz. That may be a tad over the top when discussing the topic of baking, but I’ve always had a flair for the dramatics.

So for all these reasons, I wanted to make my first post an impressive one... but is that not the aim of all new bloggers?

I decided if I was going to attempt a new recipe, it was going to be one with a flavour I knew would be a solid choice. Enter MAPLE.


Oh maple. Where would we be without your complex sweet deliciousness and seemly endless pairing combinations? You can do no wrong! Plus, being as though the Winter Olympic Games just came to a close, I'm feeling all patriotic, and being Canadian (3rd place in the medal standing - booyeah!) immediately makes me think of our Nation’s unofficial – yet officially amazing – flavour.

When I first read this recipe in Flour: A Baker's Collection Of Spectacular Recipes, I thought it was a great blending of delicious flavours. And who doesn’t love a good scone? 


However, as much as I appreciate the hard work and time that goes into developing a great recipe, I almost never execute one exactly as written. I normally tweak a thing or two. Substituting one ingredient for another, adding another flavour. My logic being, food is an individual experience, much like everything else, so why not tailor it?


So I present to you both the list of ingredients I used as well as notes on how I diverted from the original recipe to create these delicious morsels of comfort.


Oatmeal-Maple Scones

1 ½ cups unbleached all purpose flour
1 ¼ old-fashioned rolled oats
1 ½ teaspoons baking powder
¼ baking soda
¼ salt
½ cup pecan halves (I used walnuts)
½ cup raisins (I used dried cranberries)
½ cup cold, unsalted butter  
½ cup cold heavy cream
½ cup maple syrup
1 cold egg

Maple Glaze

1 cup icing sugar
3 teaspoons maple syrup
1-2 teaspoons water (as needed, to achieve syrup-like thickness)


Directions
·         Pre-heat oven to 350 degrees (depending on your oven, the temperature may vary slightly. With my oven, I always have to pump the temperature up about 10 degrees; so I baked these at 360 degrees. But you know your oven best...so adjust accordingly)

·         In a large bowl, mix together dry ingredients - flour, oats, baking powder, baking soda, salt, pecans (or walnuts), and raisins (or cranberries) 

·         Next, cut in the butter. My method for “cutting” butter into baked goods is simple. Really cold butter + box grater = perfectly distributed bits of buttery goodness. Try it, and you’ll be converted!

·         In a small bowl, whisk together the heavy cream, maple syrup, and egg until thoroughly combined 

·         Slowly pour the wet ingredients into the dry ingredients. Stir until the dough just comes together. The dough should be sticky (I had to add a touch more cream to achieve this consistency, so play it by ear)

·         Drop roughly 1/3 cup scoops of dough (roughly hockey-puck sized) onto a foil-lined baking sheet, about 2 inches apart

·         Bake for 30-40 minutes (depending on your oven), until golden brown on top

·         Transfer to wire rack to cool

·         While the scones are baking or cooling, mix up the maple glaze

·         In a small bowl, whisk the icing sugar, maple syrup, and enough water to make a thick syrup consistency

·         Once the scones have cool for about 10-15 minutes, drizzle the glaze over the tops (extra points for artistic flair!) 

·     Final Step (most important!): Dig in!! 


The scones are best on the day they are made (better still, 30 minutes to an hour after they come out of the oven!), but they will hold up for a few days; however I doubt that will be an issue! 


So..first post down! I hope you all try this recipe, and enjoy it as much as I did!
More to come :) 

Until then...Bake, Batter, and Roll! 

Tuesday 11 February 2014

The Scoop Behind "Bake, Batter, and Roll"


Plain and simple: I love to bake.

Some of my first memories are baking seemingly endless batches of Christmas cookies with my mom and great-aunt. More than anything, I remember the feeling associated with those bake-a-thons. Happiness! Mind you, back then my major contribution to the never-ending cookie assembly line was sugar and sprinkle distribution (very important!), and of course, dedicated (albeit self-appointed) taste-tester!  

Unfortunately, since then, my great-aunt has passed on, but I still participate in the annual cookie endurance run with my mom, and while I’m still in charge of sprinkles I have now graduated to mixing, rolling, cutting, and baking as well (Auntie Mee would be proud!).

These experiences have cemented in me a love for taking simple ingredients and turning them into something wonderful, as well as an appreciation of the work that goes into creating something other than a mess. Luckily, these days I have my boyfriend to help with the latter. I bake, he cleans, we eat.. I’d say it’s a win-win (but, really, I got the better end of the deal..just don’t tell him that!).

So, that brings us to Bake, Batter, and Roll. Often, when I’m baking, or cooking, I like to pretend I’m hosting a TV show (no joke – don’t laugh). In my head – and sometimes out loud – I work through the steps of what I’m creating, as if I have an audience. Additionally, I love taking pictures of what I make, and telling people about my culinary escapades (good or bad!). And while still I’m waiting to be discovered by the Food Network and given my own show, I thought the next best way to get my baking adventures out there was naturally – duh – a baking blog!! And poof, Bake, Batter, and Roll was born!

I’m not a professional, I’m just like you – I like to make good food and share it with the people I love. There are few things I find as satisfactory as someone telling you they love what you made. My hope is that you gain some insight into why baking takes equal parts passion and patience, and are inspired to try your hand at creating some delicious, homemade treats; or at the very least find a good recipe or two to take with you.

So let’s Bake, Batter, and Roll :) 

PS: Seriously, Food Network, hit me up!

Cheers, 
Bridget